An Easy Way to Paint Colorful Autumn Leaves
Learn Something New!
Grab those watercolors you received for Christmas—it's time to finally dive into painting! If you've been wanting to learn but haven't known where to start, this simple watercolor exercise is perfect for beginners. It allows you to explore a variety of techniques like color overlay, blending, color dropping, splattering, and even adding final details with pens or colored pencils. By the end, you'll not only feel proud of your results but also confident in your newfound watercolor skills. Happy painting!
I have done this exercise many times over the years.
I start by sketching leaves on my watercolor paper, but I've noticed my students often struggle with this step. Drawing leaves can be tricky—capturing the shape of one leaf is challenging, and when it comes to multiple or overlapping leaves, it can feel overwhelming. To make this easier, I developed a solution: cardboard templates of various leaf shapes that students can trace. This helps simplify the process and allows them to focus more on their painting technique. I've provided the templates for you in the link below!
First Steps
Print out the leaf outlines and tape your watercolor paper onto a sturdy backing to prevent warping.
This will keep your paper flat and secure as you work on your painting. Once it's taped down, you're ready to start tracing the leaf shapes and bring your watercolor artwork to life!
Step Two
Cut out the leaf shapes carefully. It's easier to first cut out the general outline of the leaf, and then go back to cut the finer details one section at a time.
This method gives you better control over the shapes and ensures a cleaner result.
Step 3
Use the leaf templates to trace shapes onto your watercolor paper. Be creative—overlap some of the leaves and let others extend off the edge of the page for a dynamic composition.
Use a mechanical pencil and trace lightly to avoid harsh lines. After tracing, gently erase any darker lines to ensure a soft outline that won't interfere with your watercolor painting.
Layer One
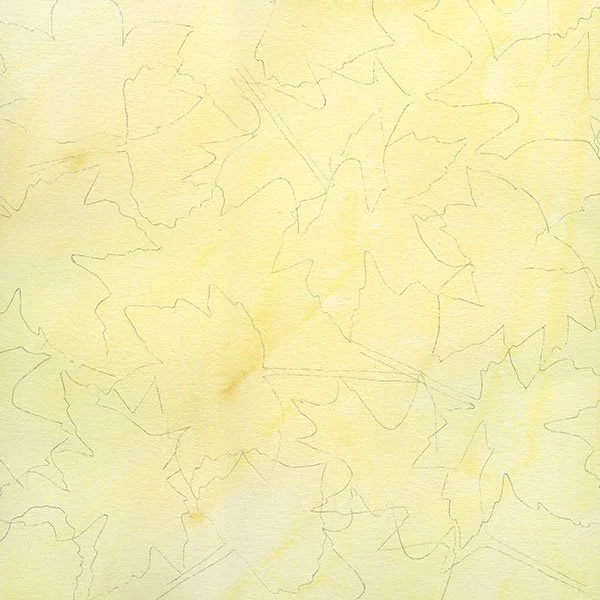
Next, apply a light yellow wash across the entire watercolor sheet to create a bright, cheerful base. While the wash is still wet, drop in yellow ochre in various areas to add depth and variation. Remember, you’ll be working from light to dark, starting with simple shapes and gradually adding details as you progress.
This technique will help build a beautiful, layered effect in your painting!
Watercolor Layers Two, Three, Four, and Five
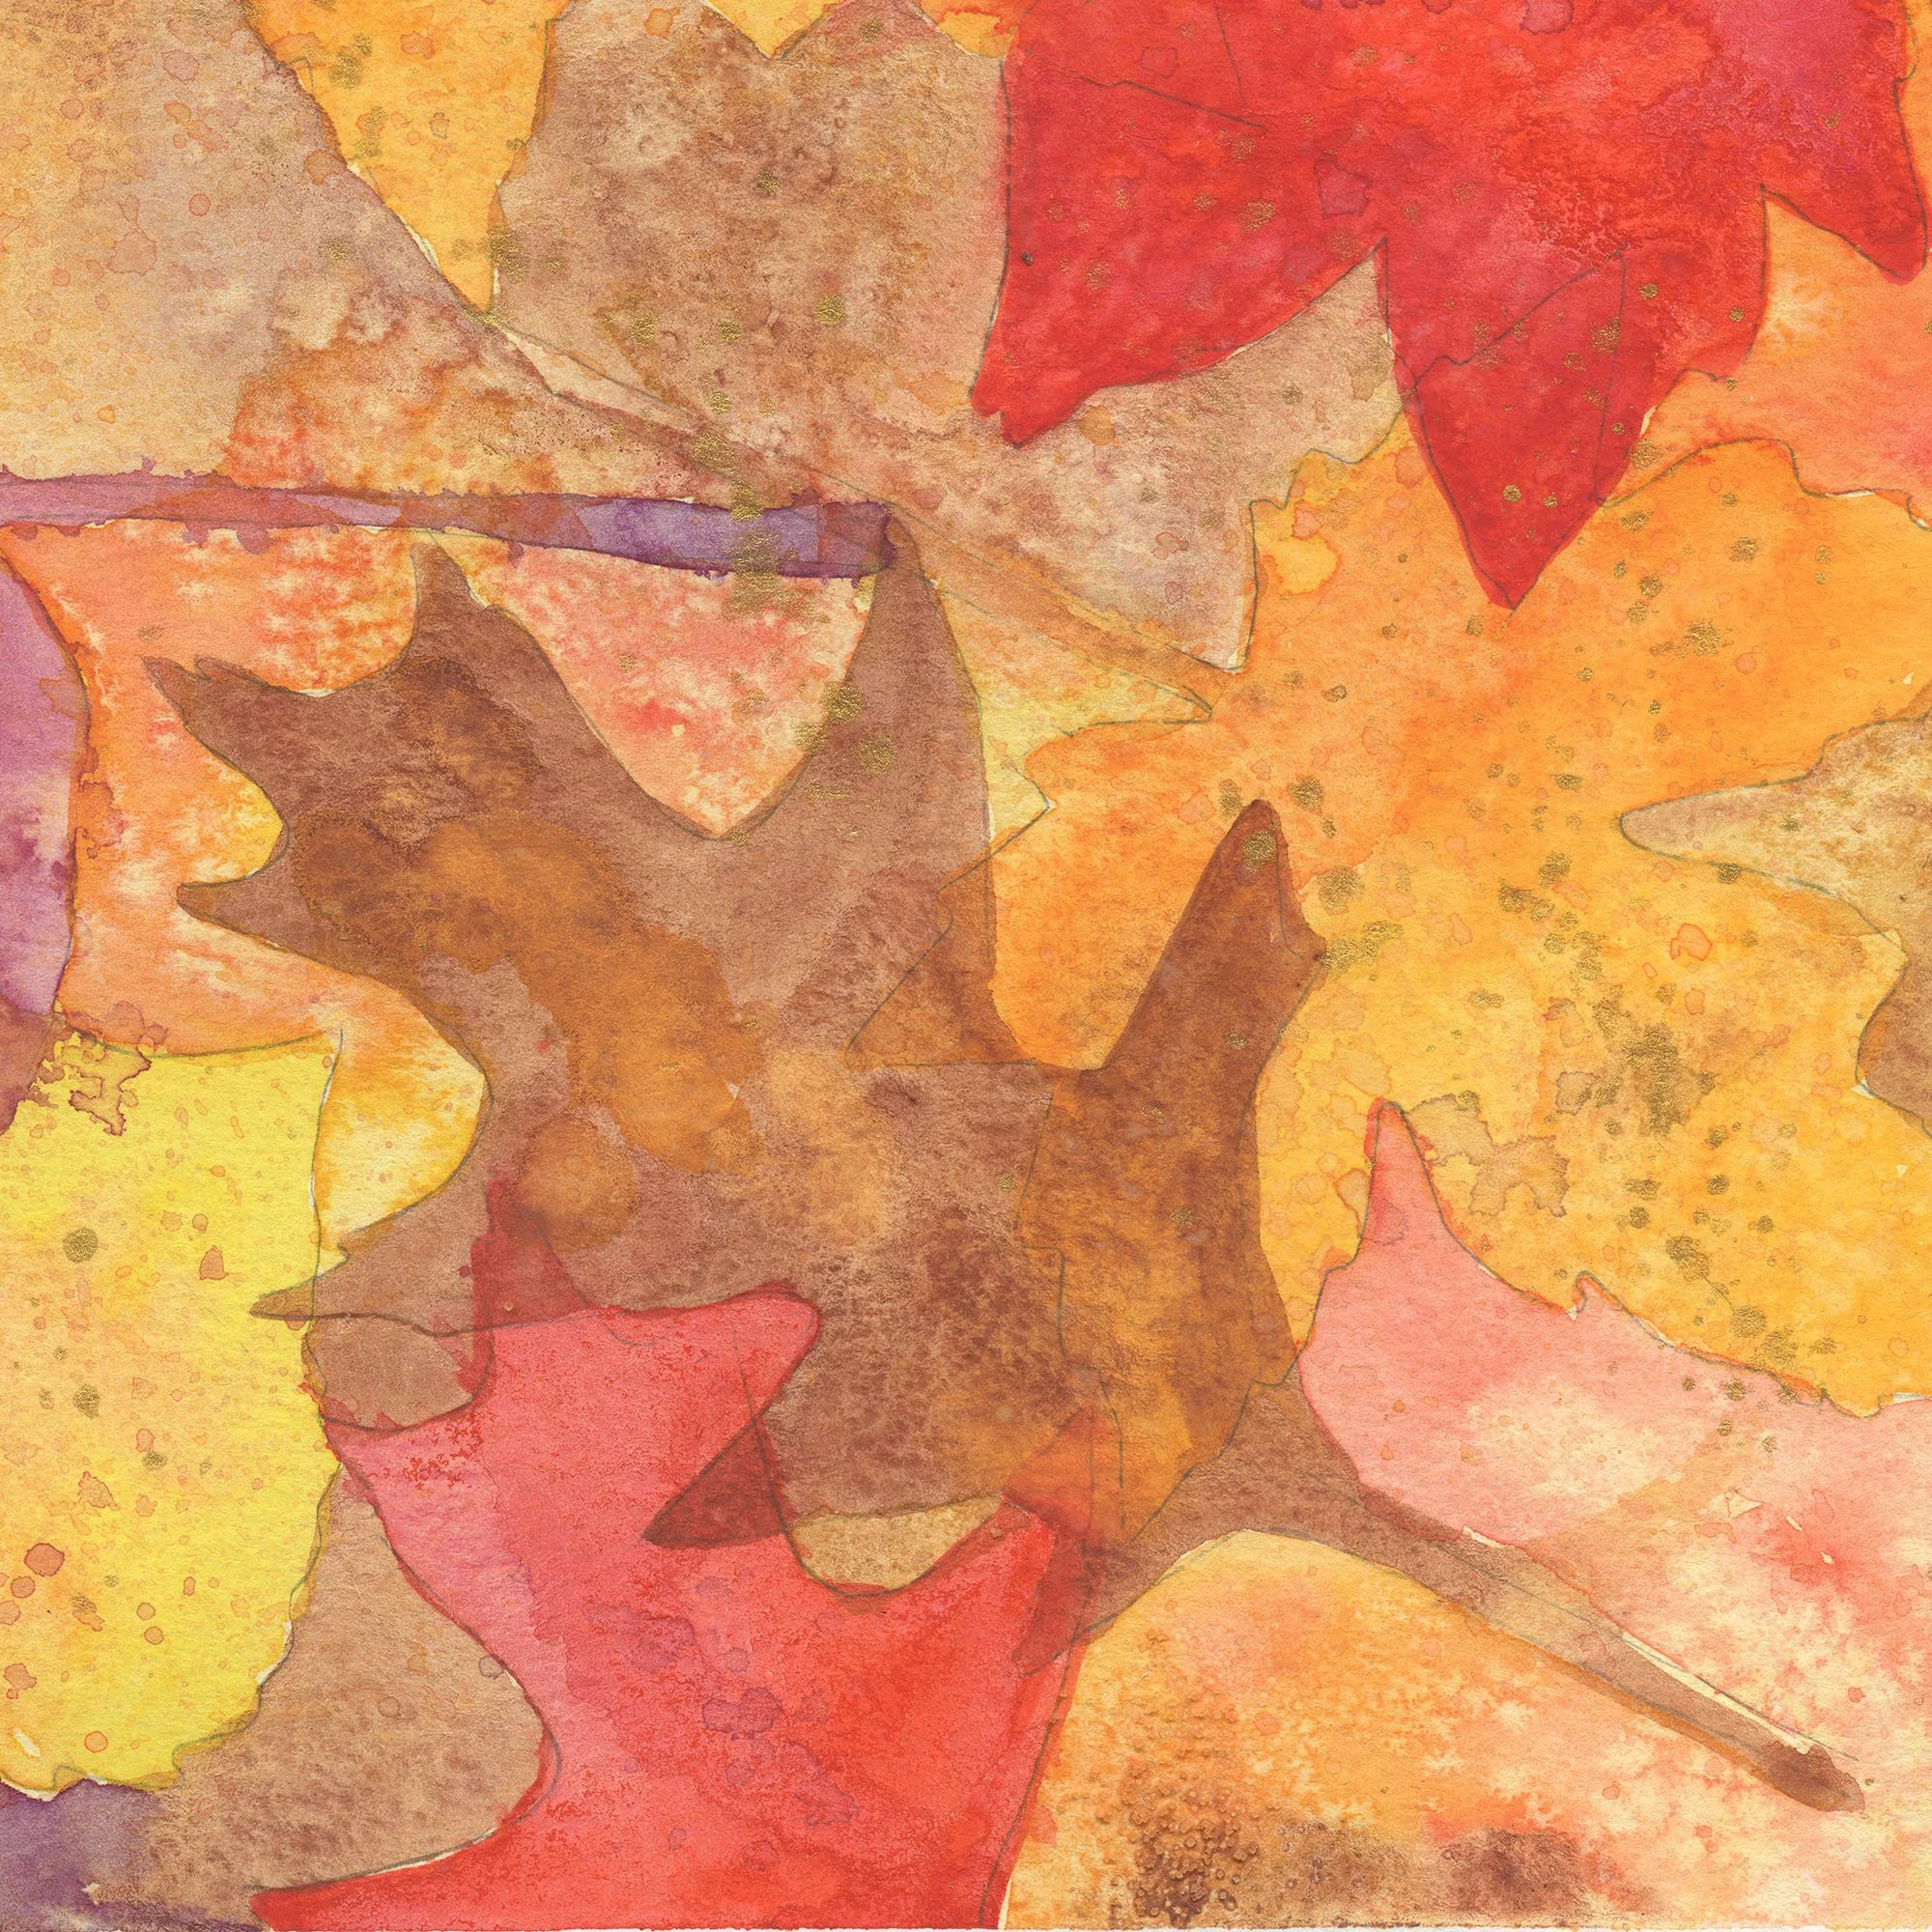
Begin by painting some of the leaves yellow, then move on to add yellow-orange leaves, followed by orange, red, and finally brown. The overlapping leaf shapes will create beautiful color blends, enhancing the overall composition. As you fill in each leaf shape with color, remember to drop in additional hues into the wet areas; for example, add red to an orange leaf to create depth and interest. Be sure to allow each layer to dry before applying the next color, which will help prevent muddiness and maintain vibrant, distinct shades in your painting.
Colorful Autumn Leaves
Play Around
I also suggest experimenting by sprinkling some salt onto the wet areas of your painting. Adding salt slows down the drying process, so I recommend letting the watercolor dry for a full 24 hours before doing anything else. Once it's completely dry, brush off the excess salt—this is best done at that stage. Salt creates fascinating textures and effects in watercolor, making it a fun technique to incorporate. The results are well worth the wait!
Salt
The upper left corner showcases a stunning salt effect, adding unique texture and interest to your painting.
This technique highlights the beauty of watercolor and enhances the overall composition. Enjoy the way the salt interacts with the colors, creating beautiful variations and surprises!
Other Effects
The effect in the lower right corner comes from a water spray, creating a lovely texture that contrasts with the surrounding areas. Additionally, the brown leaf features orange dropped into it, adding depth and vibrancy.
This interplay of techniques enhances the richness of your painting and brings the composition to life!
For this project, I used a single short spray of water on the wet paint in the leaves. This technique caused the paint to bleed into the neighboring leaves, creating some intriguing effects. The blending of colors adds a dynamic quality to the artwork, enhancing the overall visual interest and making each section unique.
Almost done
By the time you’re ready to use brown, most of the leaves should be completed. If any leaves still need attention, feel free to add purple or any of the other colors you've already used to finish off the shapes. This allows for a cohesive look while maintaining the richness and variety in your painting.
The Background
To complete your painting, fill in the background by applying a wash of color, then drop in additional hues to let them bleed together for a soft, blended effect. To make the leaves stand out, use contrasting colors that complement the foliage. For added texture, sprinkle salt into the wet background areas; this will create interesting patterns as the paint dries.
This technique will help your leaves pop and enhance the overall composition of your artwork!
Finishing Touches
At this stage, I love to add splatter to my painting. You can use any color for this, but metallic gold is one of my favorites. I always recommend practicing your splattering technique first; you can fling paint from a toothbrush or tap it with a wet brush for different effects.
Finally, and probably my favorite part, is adding detail with a pencil. For autumn leaves, I typically use colored pencils to draw the veins, but you can also paint them if you prefer. I’ve even had wonderful results using gold metallic pens for outlines and veins, which adds a beautiful touch to the finished piece!
Patience is important
In addition to all the techniques used in this lesson, you'll also need patience. It’s essential to let each layer dry before moving on to the next. I appreciate this aspect of the process because it teaches you to avoid the temptation to rush and try to do everything at once. Attempting to paint a watercolor piece all at once often leads to muddy colors. Remember, when it comes to watercolor painting, patience equals brilliant colors.
While there are no hard and fast rules, these steps guide you through a process that results in beautiful autumn leaves in watercolor.
If you prefer a less complicated version of this exercise, you can use the same instructions to paint a solitary leaf. This allows you to focus on mastering the techniques without the complexity of overlapping shapes.
I hope you enjoyed this tutorial and are inspired to give it a try! Feel free to share it with anyone you know who is interested in learning how to paint with watercolor. Happy painting!


