Can I paint your photo?
There's a story behind one of my favorite questions, "Can I paint your photo?"
It was an extremely bad day at work, one of those days with a lot of pressure and not enough time, when I got a text from my sister.
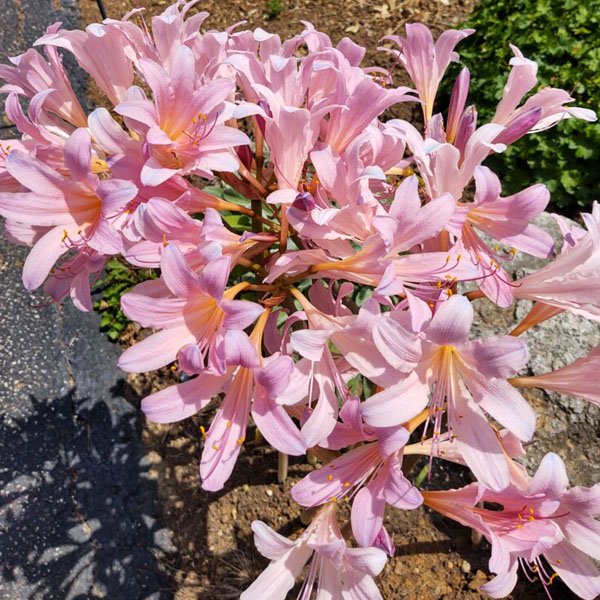
“I know you are hard at work, but I want to share these flowers while they still looked good. I have heard they were called “Naked Ladies.” I hated that name, so I searched, and found that they are also known as “Resurrection Lilies.” The leaves come up in the spring and then die down. Around the first of August, these flowers pop up—this is a miracle. We were digging up weeds and destroyed a bunch of the bulbs. We didn't think we would have any at this spot. I have more in my Mary Garden.”
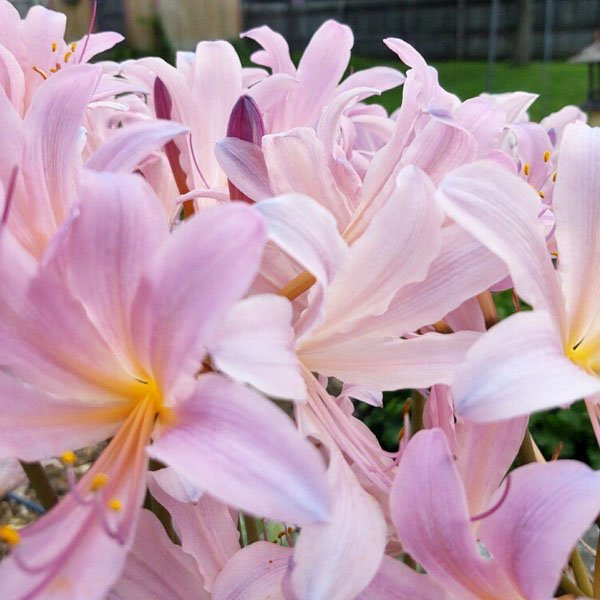
“No leaves, just stems and flowers. Take one really close up from the side, please.”
“Ok! I hope that brightens your day.”
My sister says I’m bossy. Confession: I am, when it comes to the camera, or maybe it’s me being an art director, that’s what I like to think because:
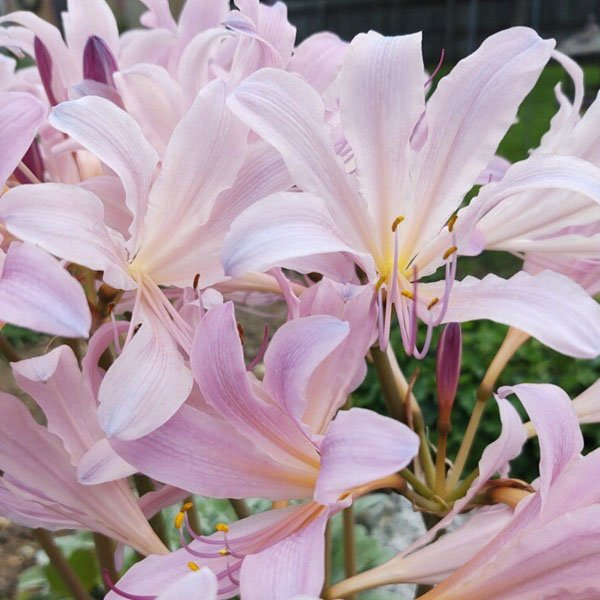
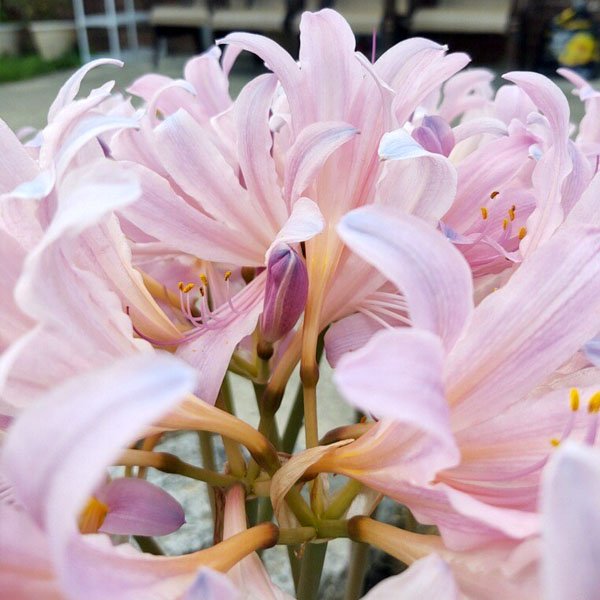
Then, I get these from her!
And now, I want to paint her photos— that is why she sends them too. I ask this question a lot and most everyone says yes. Now that I have the new photos, I am excited about painting these lilies.
But… most likely, it will be a while. It is a slow process for me to take a photo and make it into a painting.
My Process
I snag a photo or take it myself. I always make sure that I have permission to paint it. Then, the photo file goes into a folder called To Print in my Camera Roll under the month and year.
About every month or two, I upload photos to Snapfish or Shutterfly. I use them both to order prints.
When the prints arrive, I sort them. Sometimes, what I thought would be a great painting doesn’t work. Most of the time I reject a print because the composition doesn’t suit me. If can change that in a Photoshop or when I sketch the painting out, I do. Sometimes, the photo is too busy and I'm not sure if I can simplify it. Simplicity and good composition are what I look for in a photograph to paint. If that can be accomplished when the photos are being taken, that's the best solution. That is why I asked my sister to get in closer and take the picture from the side of the blooms. She captured a smaller number of flowers in a way that I think will make a very pleasing composition for a painting.
Considering the Meaning of a Painting
Even more than a good composition, their name intrigues me. I will call her flowers Resurrection Lilies.
I like that their name has a deeper meaning because they mimic the Lord rising from the dead in the manner in which they bloom. It is easy to see God’s signature in nature. Even better is her story, how they thought they had ruined the bulbs and still, those lilies came up and looked gorgeous.
Collections
After I selected a photo and approve it, it becomes part of a pile on the table where I draw. Right now that happens to be my dining room table. I put the photos in a plastic sleeve in order to protect them and when I'm ready to draw again, I sort them into collections.
Lilies
My sister sent me two photos that I really like. That makes a collection of two, I'm not ruling out the first ones she gave me that were more complex. My son Scott keeps asking me to paint larger so the more complex photos could become a very large painting— that will be decided after I do the initial two. I'll know then, whether a larger painting is a good idea or not. If the first two paintings turn out well, I'll definitely paint the larger one to add to the collection.
I may look for other photos of the Resurrection Lilies to paint on an Artist/Photographer share site that I belong to, “Paint My Photo.” There is also a Facebook group you can join if you are looking for reference photos.
Next, I decide what size I want to paint the photo. With a frame sizes in mind, I want to create an artistic design that can easily fit into a standard size frame. I note the size that I chose on a sticky note and place it on the photo sleeve.
Drawing the Painting First
When I decide that it is time to start the paintings, before I sketched them out, I created a shape in pencil the size that I had determined the painting would be earlier.
In an earlier blog, I talked about my process in more detail. As I draw, I work on the composition to change anything that I feel needs to be changed. Maybe, I will take the detail out, maybe I will put more in.
Sketching is important
When I first started making sketching part my process, I had to do several iterations of a drawing until I got it correct. I've been sketching like this long enough that I can typically sit down and sketch something out satisfactorily the first time. This is true only because I've have done many hours of sketching.
People want to skip this part of the process, but sketching is the most important part of creating art. I find that even if I don’t draw on my paper or canvas if I have become familiar with an object by sketching it, the improvement in my art is noticeable. Doing something repeatedly is the best way to learn how to do something well. Art is no different than being an athlete. It's about training, muscle memory, and eye-hand coordination.
Transferring the Drawing onto Watercolor Paper
After I sketched the photograph, I go over it with a darker pencil, a B2 pencil. I sketch with an F, which is very close to your regular #2 pencil. This gives me a chance to do corrections and it makes the lines dark enough so that I can see them easily on my light table.
In the past, I have used my coffee table for a light table. It has a glass top on it, and if you put a lamp or a flashlight underneath it that works well enough. Holding a drawing up to a window during the daytime works very well too, but now, I have my awesome light table, which makes things a lot easier for me. I trace the drawing onto watercolor paper. Watercolor paper is fairly thick, but you can still see the lines through the paper.
At this point, the photo is ready to paint.
Scanning the Drawing
At this point, the drawings are ready to be scanned. I will clean them up in Photoshop. Then resize them in InDesign and organize them in a layout. This is when I add text if I want to. With the layout done and saved as a PDF, they are ready for download.
A peek at the Process
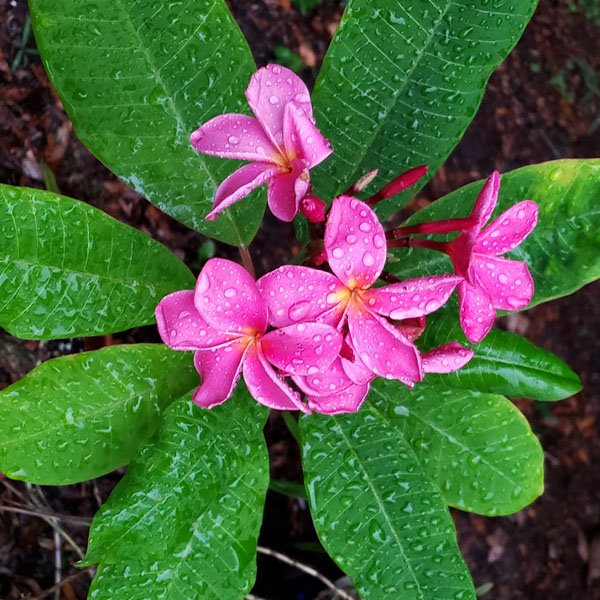
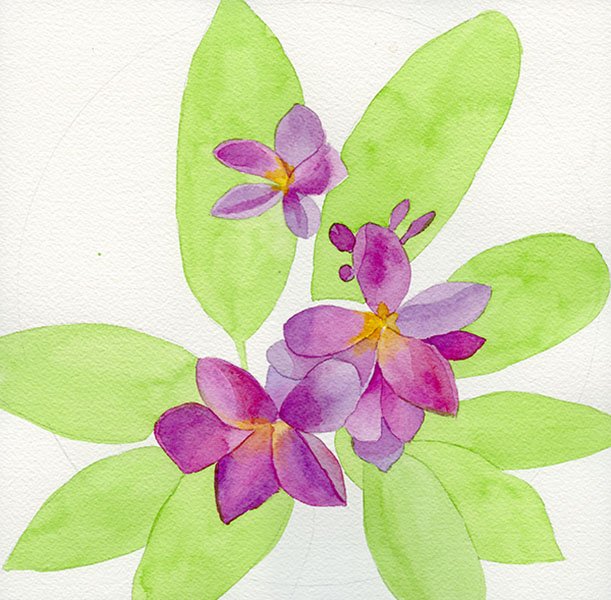
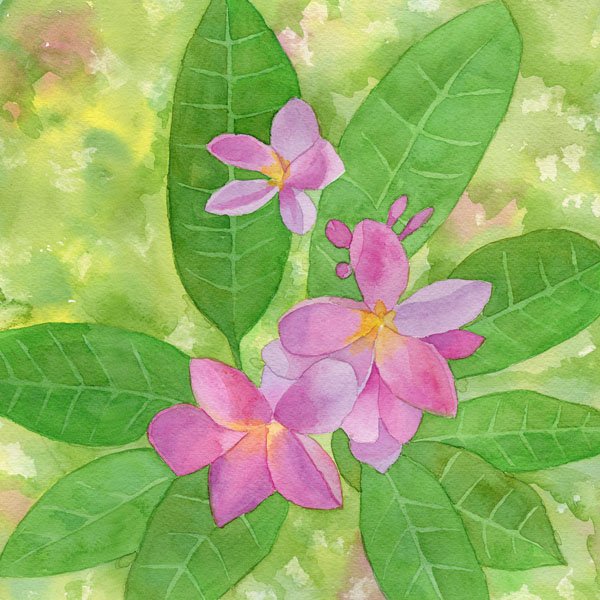
I chose a photo of a Plumeria that a friend from high school posted on Facebook to create a watercolor from. I asked her, “Can I paint your photo?” And she said yes. Her photo was then made into a painting.


